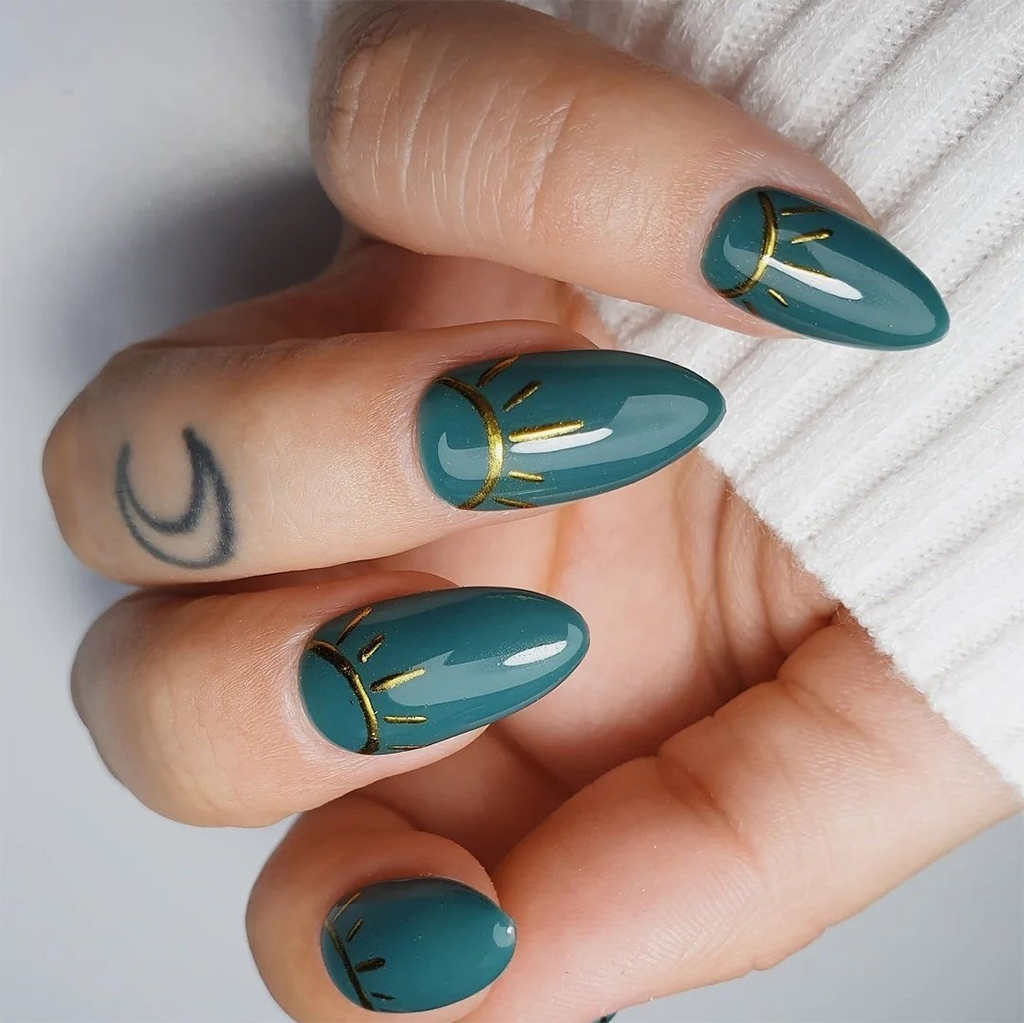
The Standard Gel Manicure Procedure for Beginners
Thanks to the usefulness and beauty that gel nail polish color brings to women’s hands as well as the durability when performing and doing gel nails, those are the reasons why gel nail polish colors are always popular and usually used by women as the most popular nail art styles today. You can unleash your creativity when doing gel nails, it has a variety of designs and colors, opening up a treasure trove of unique ideas, creating impressive beauty on your own hands! But do you know the gel polish manicure process and what kinds of soak off gel polish will you choose? It is not too difficult to learn doing gel nails, you can completely practice yourself by following the standard and simple gel manicure process below.

Now, find out what soak off gel polish is!!
Soak off gel polish is a gel color nail polish that gives you flawless, long-lasting nails. However, it is very easy to clean when you want. “Easy to soak off technology” helps customers save time when they want to change another color for their gel nails without harming their natural nails.
What is a gel manicure?
The Gel that is usually used in gel polish manicure is a special type of nail polish. Gel manicure is the process of applying a layer of gel to the fingernails/toenails. This material dries very quickly, when used to create fake nails, the gel adds the hardness and thickness to the nails.
The chemical composition of gel nail polish is similar to Acrylic but does not require Catalyst (a hardener). The gel polish is dense and has an extremely durable texture due to its composition of Polymer Chemical Family and Monomer.
Basic gel manicure procedure for beginners
Step 1: Prepare enough gel nail tools
The gel nail process will be indispensable for a gel nail polish set with a good primer and top gel to ensure your gel nails are of durable, beautiful and shiny. Next, what you need is a clean nail kit that includes wipes, cotton swabs and gloves. You guys need to make sure that these nail tools are clean! And especially, don’t forget the UV or LED lamp to dry the gel nail polish.
Step 2: Clean nails before applying gel
The process of doing gel nails or any type of nail polish, the nail technician also needs to clean the nails before performing. This will help the nail surface to be neat, ensuring the color adhesion of the gel polish.
First of all, you need to trim the nail and use the file to smooth the tip of the nail. Then, remove the excess skin around the edge of the nail with a scraper or pliers. To clean the nail surface, you can use a lint-free wipe. This towel will be able to gently treat the cuticle without causing unsightly nail damage.
Step 3: Apply a base coat of primer
Base coat nail primer is an indispensable step to protect nails and create better bond with color gel nail polish. Before applying the primer, roll and rotate to mix the paint evenly. Then, apply a thin layer to the nails.
Please note! in the primer layer, the thinner you apply the better you get, and don’t forget to “lock” the nail tip to help the paint last longer. Then you can use the UV lamp to dry your nails in 10-30 seconds
Step 4: Do a gel manicure with gel nail polish
Once the primer has dried, you can apply your chosen color gel nail polish. The gel manicure process at this step should be done twice. For the first time, you should only apply a thin layer of paint and lock the nail tip to limit the peeling of the paint. For the gel polish to dry, you should use an LED light and dry each hand for about 60 seconds.
The second time you apply gel nail polish, you do the same for the first time. And while the LED lights dry your nails, you can draw shapes or use accessories to decorate your dried fingers.
Step 5: Apply the top gel at the end
The final step in the gel manicure process is to apply a gel top to give our nails the most “perfect” look. The steps to apply polish and cure are similar to nail primer and color gel nail polish. You also apply the thin layer and remember to lock the nail tip and then dry it under the LED/UV lamp for about 60-120 seconds per hand.
Final thought
We always hope to be able to provide the useful information and help you guys answer all questions during the manicure process. In this article, you have understood the steps in the simplest gel manicure process as well as the notes to avoid mistakes when making them. You can refer to do your own gel nails at home easily.